The 2019 edition of the Reef Photo and Video Anilao Underwater Photo and Video Workshop wrapped up last week. This was the 6th annual Reef workshop in beautiful Anilao, Philippines. Each year we’ve been treated to some of the best diving in the world, with an astonishing assortment of underwater creatures for subjects. Our host was the idyllic Aiyanar Beach and Dive Resort. Chris Parsons filed daily reports from Anilao about the Workshop.

Table coral, Verde Island. Shot with the Canon 5D Mark IV, Canon 8-15mm fisheye lens at 8mm, Nauticam housing and Zen DP-100 mini dome with removable shade.
Days 8+ (Bonus Days)

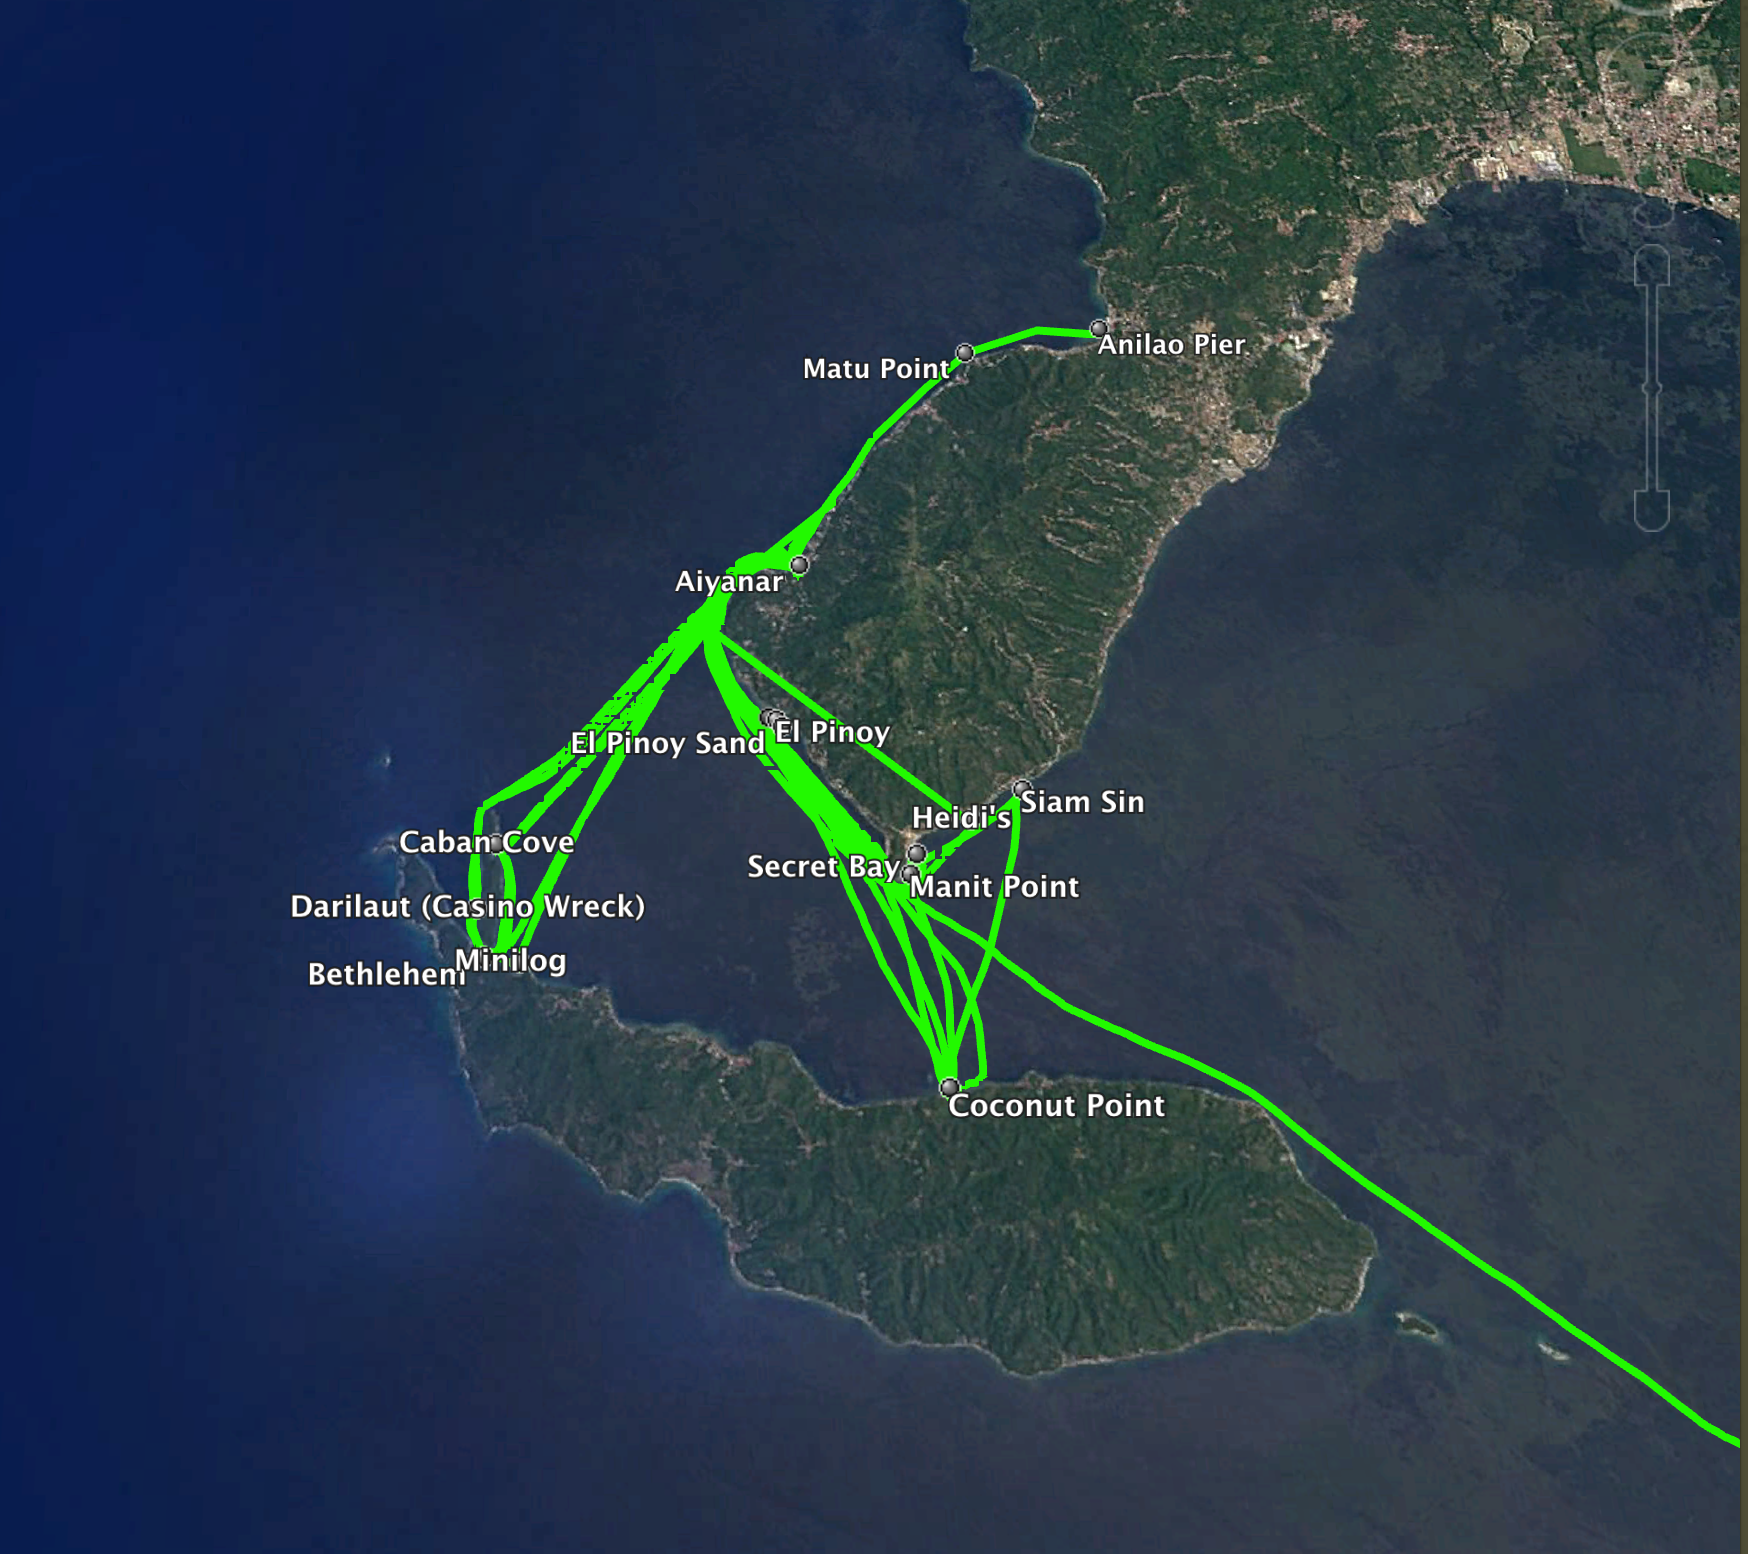
The track from Aiyanar to Verde Island and then on to Puerto Galera.
This year I offered an optional extension for those who wanted to stay on in Philippines a bit longer. On Saturday, 7 of us traveled by speed boat over to Verde Island and did a two-tank dive. Our luggage tagged along in a separate boat. The reefs at Verde are amazingly beautiful and are absolutely covered in fish. Our Aiyanar guides then dropped us off at Atlantis in Puerto Galera where we spent a few more days enjoying Philippine diving.

For those guests that can only take a week off at a time, a one week workshop fits the bill. But for those who want to maximize diving time and exploring in a new country, an extension like this is ideal. Some of our Anilao guests went to Tubbataha on a liveaboard, others stopped for a few days for a land excursion in places like Hong Kong or Dubai. For anyone interested in traveling with me in a smaller group, I generally add on an extension like this to my trips.

A pair of Flame Gobies.
Reef Photo is offering another international workshop this year, this time in Lembeh, Indonesia. Let me know if you are interested in joining this trip and doing an extension.

All good things come to an end, and I write this from my airplane seat on the way back home. Great trip, great diving and lots of new friends.